The Ultimate Guide to Wood Polish: Bring Your Furniture to Life
June 17, 2025
Wood polish is more than just a finishing touch—it’s the key to protecting, enhancing, and revitalising wood furniture. Whether you’re working with antiques, modern pieces, or DIY restorations, the right polish can deepen color, add warmth, and preserve the surface for years to come.
Here’s everything you need to know about choosing, applying, and maintaining wood polish effectively.
Why Polish Wood?
Protects the Wood: Polishes seal wood fibers, guarding against moisture, dirt, and everyday wear.
Enhances Appearance: Adds depth, highlights the grain, and provides that characteristic glow.
Smoothes and Softens: Fills minor cracks and creates a silky, tactile finish.
Simplifies Cleaning: Finished surfaces are easier to wipe clean and maintain.
Types of Wood Polishes
Wax-Based Polishes
Made from natural waxes like beeswax or carnauba.
Imparts a soft matte or satin finish.
Easy to apply with a cloth; buff to shine.
Reapplications are quick and simple.
Oil-Based Polishes
Oils like linseed or tung oil penetrate and enhance wood.
Provide deeper colour saturation and long-term durability.
Require careful application and curing time.
Shellac-Based Polishes
Classic traditional polishes like Heavy French Polish that dry hard and glossy.
Great for high-end finishes and period restorations.
Can be layered with wax for a perfect sheen.
Synthetic/Polymer Polishes
Modern water-resistant formulas with synthetic resins.
Provide a durable, clear finish.
Often easier to apply than traditional options.
How to Choose the Right Polish
Consider these factors:
Wood Type: Open-grain woods (oak, ash) benefit from penetrating oils; fine-grain woods (cherry, mahogany) take shellac or wax well.
Desired Look: For a deep, glossy dress, use shellac or high-quality wax. For a natural, satin finish, opt for oil or wax.
Experience: Wax is DIY-friendly; shellac requires more care but delivers a rich, refined finish.
Step-by-Step: How to Polish Wood
1. Prepare the Surface
Sand progressively from 120 → 180 → 220 grit. Clean thoroughly to remove dust, grease, or residue.
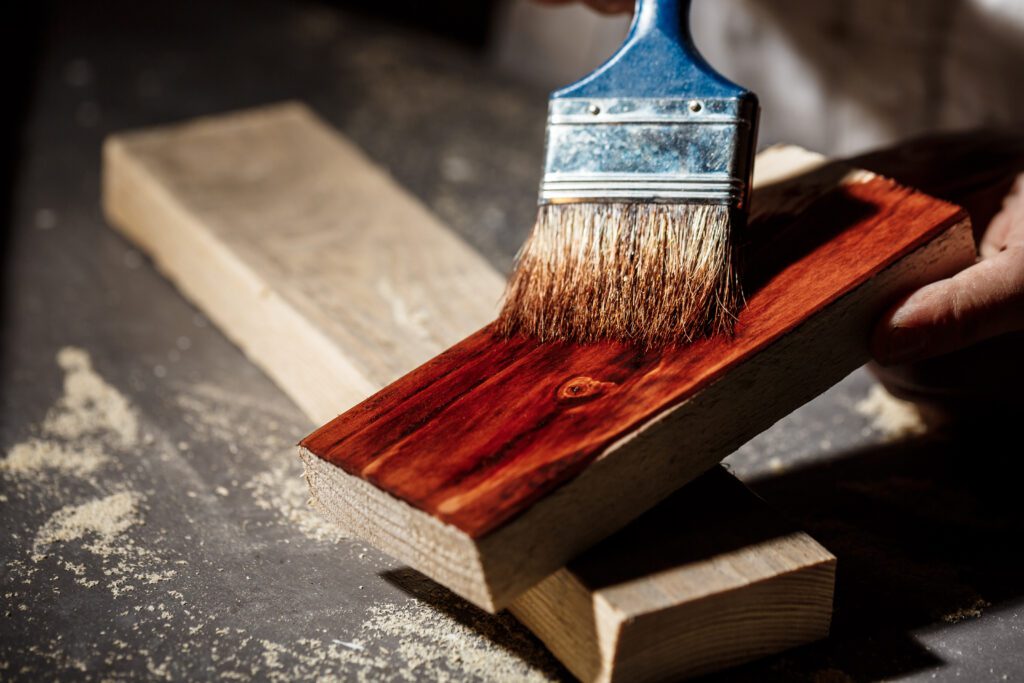
2. Apply the Polish
Wax: Rub on a thin coat, allow to haze, then buff with a soft cloth.
Oil: Apply evenly, allow it to soak in, then wipe off excess. Repeat 2–3 coats.
Shellac: Apply thinly with a brush or rubber pad; allow to dry between coats.
3. Final Buffing
Use a clean cloth to buff the surface after polish has dried/cured for weeks.
4. Ongoing Maintenance
Dust regularly. Apply felt pads under furniture to protect it. Reapply wax every few months.
Pro Tips for Perfect Polishing Results
Always sand with the grain to avoid scratches.
Work in thin layers—multiple coats give better results than one heavy coat.
Apply polish evenly—avoid pooling.
Test first in an inconspicuous spot to check color and finish.
Use ventilation when working with solvent-based polishes.
DIY Polish Projects
Revive a bedside table: Sand lightly, apply heavy wax, then buff to a soft glow.
Enhance salad bowls or cutting boards: Use food-safe oil finishes.
Brighten library shelves: Apply a snappy shellac coat, then buff with soft hessian.
Restore Beauty with Polish from Upholstery Warehouse
Whether you’re aiming for a matte, satin, gloss, or high-gloss finish, Upholstery Warehousehas the polish and tools you need: