



February 12, 2020
Double piping can be made with two pieces of single piping, but you will find it does not close together as well when stapled into place. Therefore, it is shown here being made from the double piping that we sell.
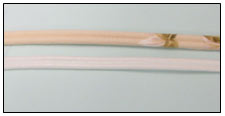
Double piping. The above picture shows the double piping after it is covered, and the piece in the bottom of the picture is before makeup.
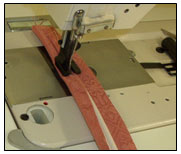
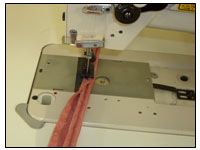
Cut your piping fabric about 2″ (50mm) wide. Then, using a very narrow foot or special *double piping foot*, wrap the fabric halfway around the cord and sew it into place. Then take the fabric around to the other side and sew it in place again from that side. If you are clever, you can do this in one step by sewing the two in place at the same time, but do make sure that it is wrapped very firmly. Sewing only once can prevent the centre from becoming too bulky.
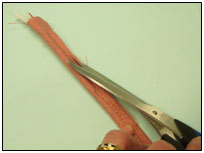
Next, cut away the excess fabric from the overlap on the back of the piping so that when you turn it over, it cannot be seen from the front.
The pictures here show the piping used as an alternative to a braid finish. We have used a contrasting fabric to make it clearer in the photograph.
Now simply staple the piping into place. This can be done with a hand, electric or pneumatic staple gun, but the gun must have a protruding nose.
As you staple, it will close in on either side to conceal the staples because this type of piping cord has a raised centre.
*As yet we have not found this special foot available for domestic machines, but we can provide it for industrial machines for both straight stitch and a walking foot machine.